For me, Valentine’s Day is crafting day. It just happened that way. I tend to be around a lot of tools and materials – our apartment always has lots of semi-random art supplies, and the shelves of Noisebridge are infinite in their potential (and entropy). Valentines day has become a day to try new techniques and experiment.
A few months ago, Molly took a letterpress class at CCSF. In addition to covering the basics of printmaking, the class used a novel technique for making printing media: photopolymer plates. An image file is sent to the processor, who prints it on a transparency and uses that to mask etching chemicals, exactly akin to making a lithographic plate or circuit board. This technique is not cheap, and turnaround times are usually a few days. The quality, of course, is superb.
Now that Molly has these nice custom plates, when she saw a small home letterpress kit for only $40 on craigslist, well, it was time to add to the home crafting supplies.
So, here we are, Valentine’s day, and I’m itching for a craft. We finally got the 3d printer working at Noisebridge again, and I decided to try and skip the polymer plate wait and 3d-print my own!
Technique
- Create your artwork in Inkscape (I used a canned heart floating around the Googles).
- Export to OpenSCAD using this script.
- Edit the generated file to include a base plate:
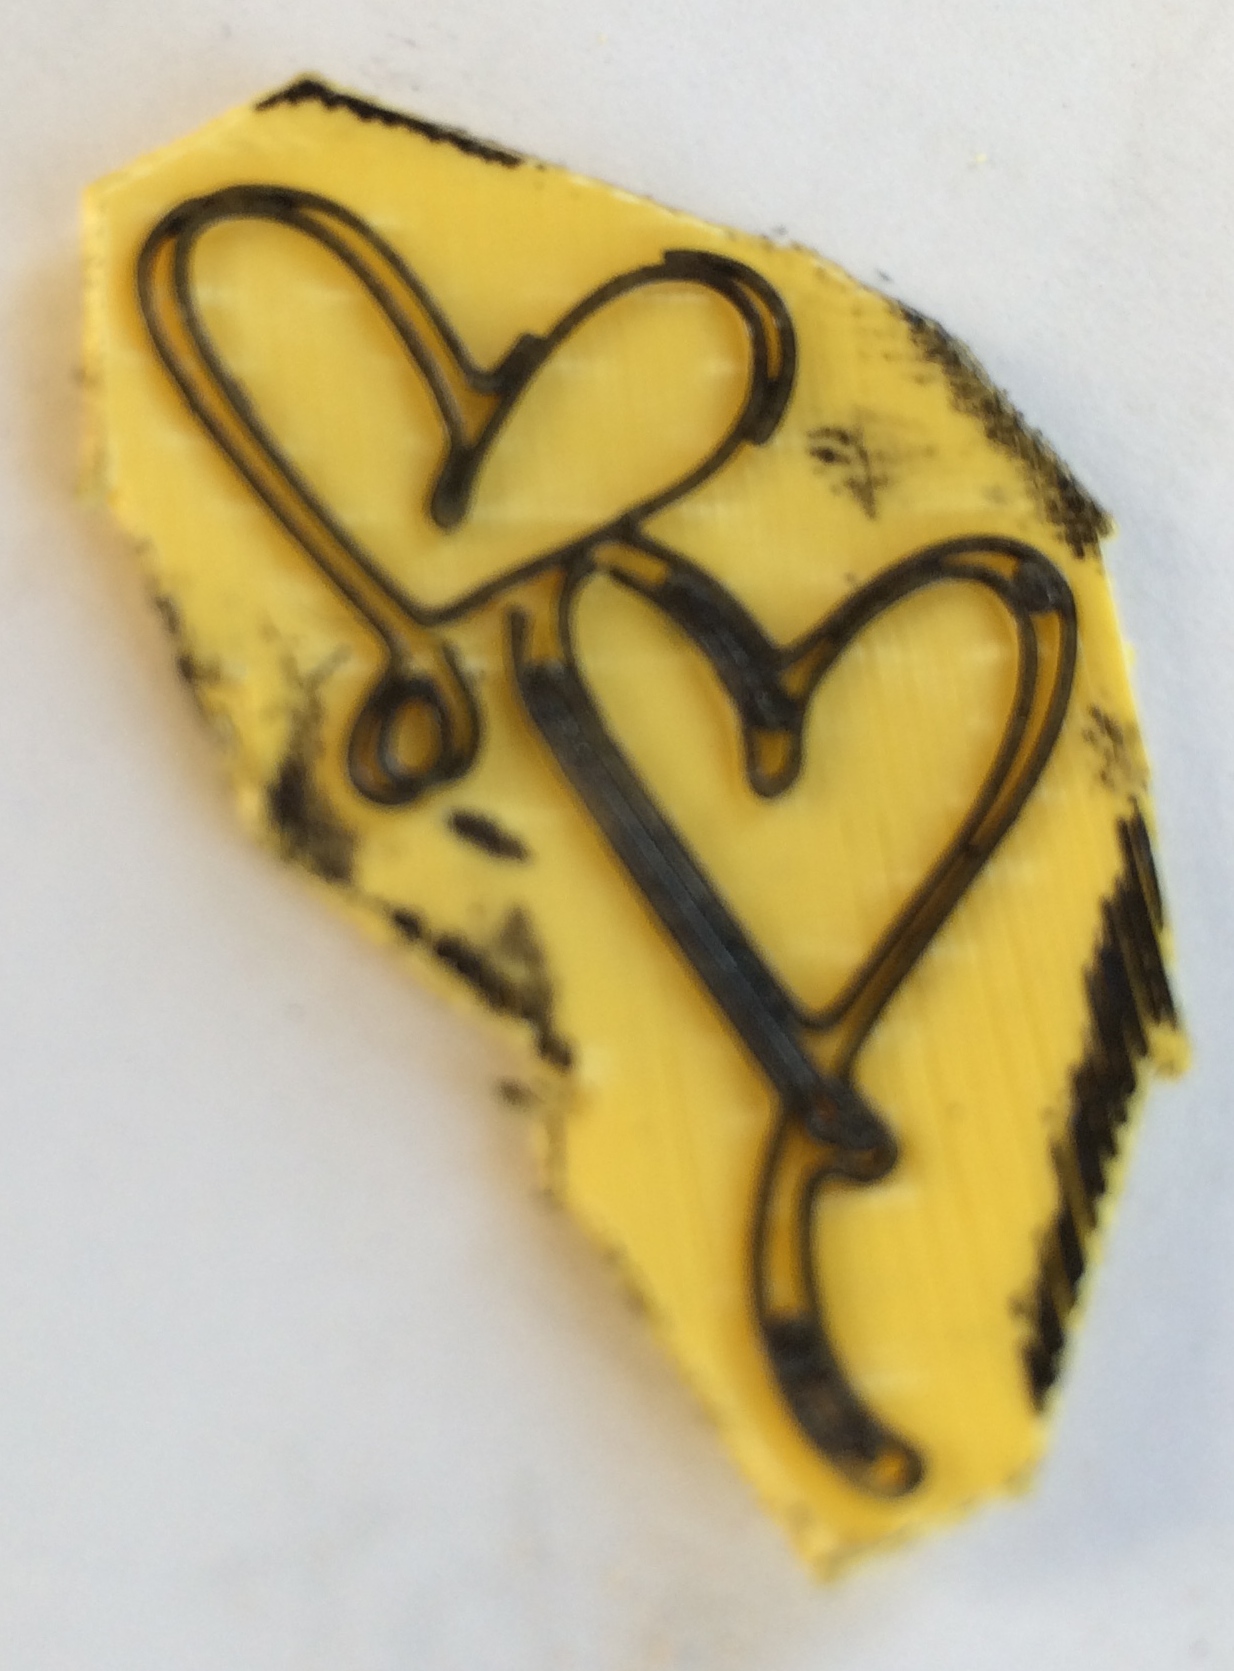
plate_thickness = .45; type_thickness = .6; union(){ translate([0,0, plate_thickness/2]){ cube([30, 40, plate_thickness], true); } translate( [0,0, plate_thickness]) { poly_path3365(type_thickness); // this is the SVG polygon } } - Print! I used ABS, but PLA would probably have been a better choice. Using a raft is a Good Idea here.
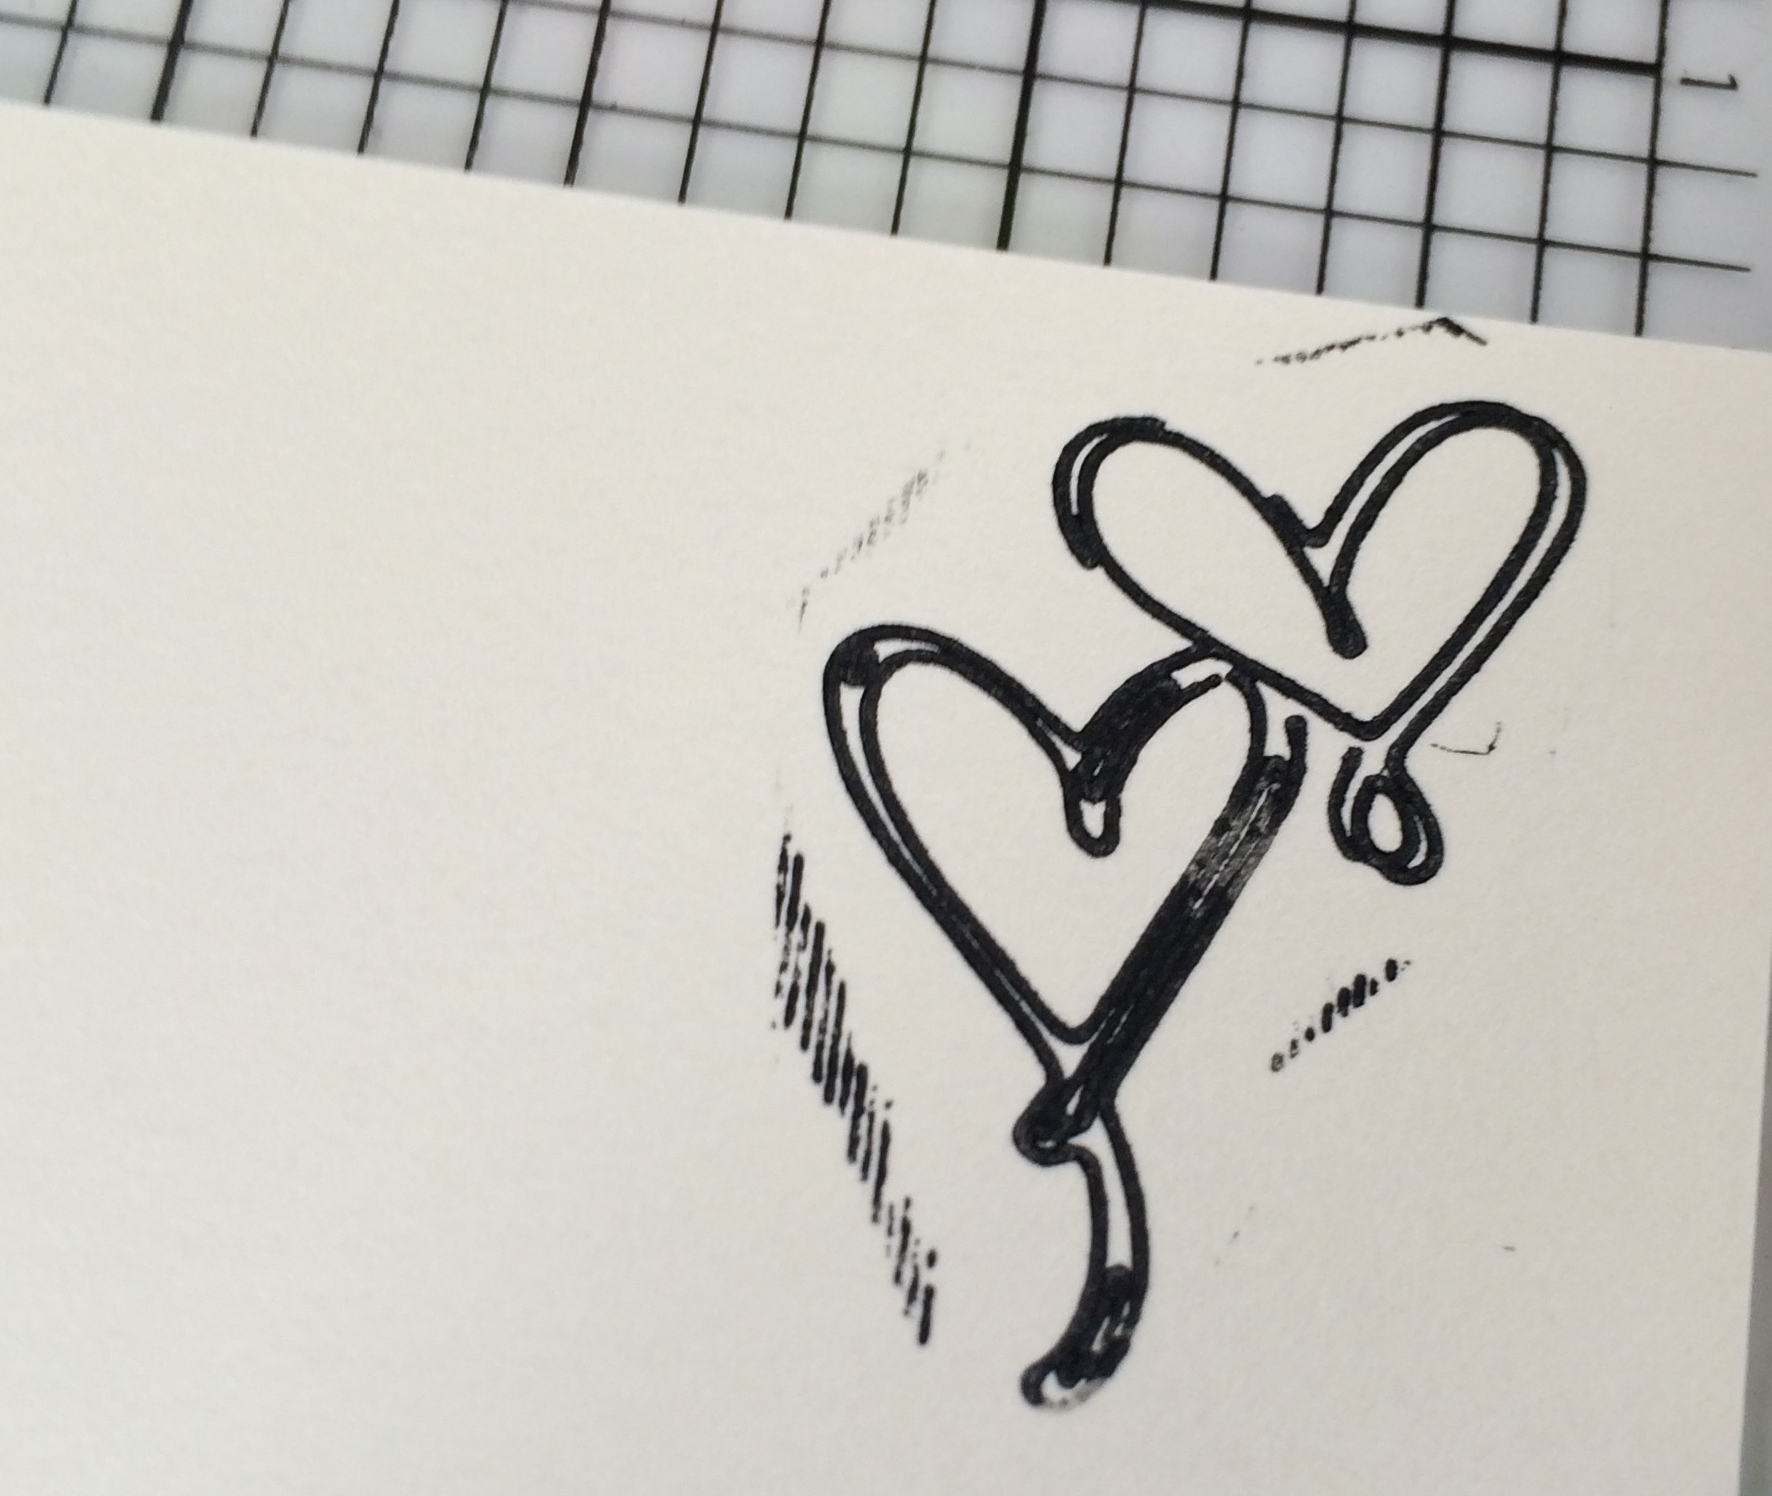
- Letterpress! I inked and pressed without any special techniques.
A word on dimensions
The plates included with the letterpress have a thickness of about .75mm. Photopolymer plates have a total thickness of about .9mm and an emboss of about .55mm. They deboss much better. I initially matched this, but the first run was not thick enough to register a good deboss. So, I increased the thickness.
Results
It does work! There are a few gotchas. Photopolymer plates are superior in every way.
Slicer & Printer problems
I couldn’t convince my slicer to create a truly flat type-surface. Because some of the dimensions are between 2 and 3 filament-widths, it omitted the middle pass. This meant I had an outline where I really wanted a fill. This is certainly solveable with a better slicer, but there definitely are shapes that will never really be printable.
Curl-up
When initially printed, the backing plate was quite flat, and extended far beyond the edge of the image. However, after the first run through the press, the pressure curled it horribly. This raised the backing plate to the level of the type surface and thereby made inking just the type impossible. That’s why you see artifacts on the print.
The solution is probably to print a thicker and smaller backing plate. Don’t include more than a few mm beyond the edge of the type. The sofware can probably generate a minimal covering backing plate. I just used a big bench grinder to trim it. Thanks, Noisebridge!
Inking
Because of curl-up, and due to all of that excess material, the corners were inevitably inked. Even when I trimmed the excess, I couldn’t get a clean inking. Something to think about. I should have spent more time building proper roller bearings.
Durability
The backing plate is already starting to show signs of wear after 5 prints. I wonder if it will actually fail this quickly.